renovation · 11 min read
Bathroom Waterproofing Before Tiling: Steps and Checks
How to waterproof a bathroom before tiling: preparation, membrane, curing, ponding test, floor slope and what to get in writing from your contractor.
Waterproof a bathroom before tiling by preparing and sloping the surface, sealing corners and pipe openings, applying the product in the coats its datasheet specifies, curing it, then testing it by ponding water before any tile goes on. Tiles and grout are a finish, not a waterproof layer, so tiling over a leak only hides it. Follow the manufacturer's datasheet for coats, curing and test time.
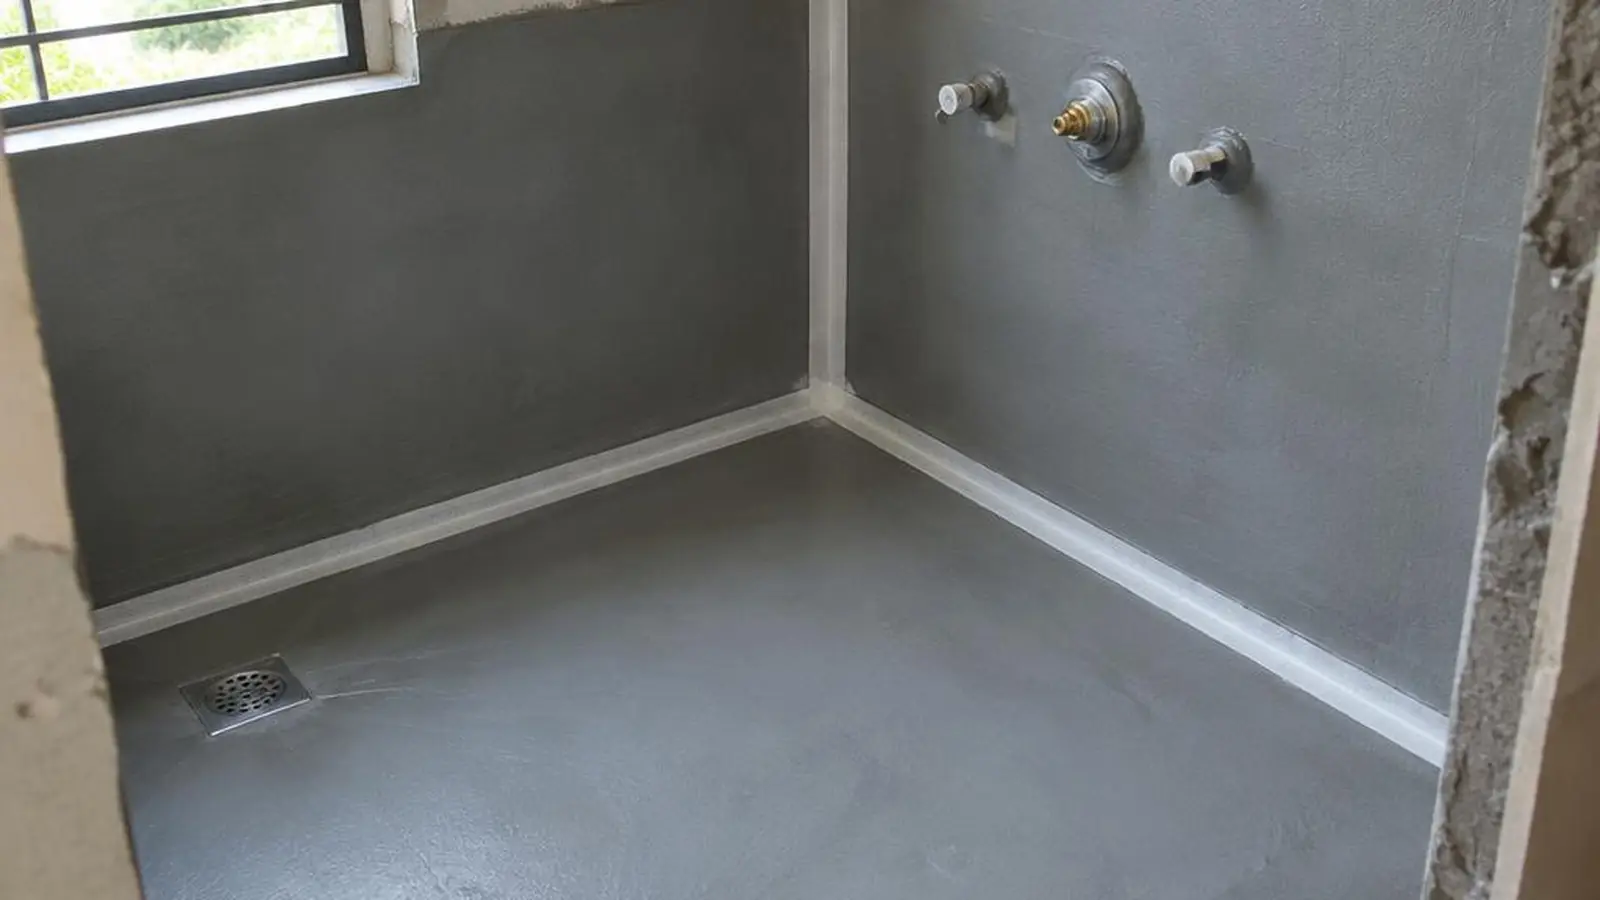
This guide is about doing the work right during a renovation or new build. If you already have a leak and want to know where it comes from, start with bathroom leaks only after a shower: what it means, and if you are checking a builder's bathroom at handover, read bathroom PDI: drainage and waterproofing checks. Here we cover what should happen between stripping the bathroom and laying the first tile.
Why do bathrooms leak?
Bathrooms are the wettest rooms in a flat, and water finds the weak points. The usual ones are:
- Wall-to-floor joints, where two surfaces meet and can move slightly;
- Pipe and drain openings, where something passes through the waterproof layer;
- Poor floor slope, which leaves water standing instead of draining;
- A thin, patchy or damaged waterproof layer, including damage from later drilling or chipping;
- Concealed pipe joints, which leak for plumbing reasons and not because of the membrane.
The last item matters: a leak is not always a waterproofing failure. This is why plumbing is pressure tested before it is covered, and why finding the actual source comes before any repair. Our guide on finding the leak before you waterproof covers this, and pressure tests for concealed pipes explains what a pipe test proves.
What are the signs of hidden seepage before you renovate?
Check these before deciding to keep any part of the old bathroom:
- damp, peeling paint or a musty smell on walls beside the bathroom;
- a ceiling stain or dampness in the flat below;
- white powder on the wall, which can mean moisture is moving through the masonry (white powder on walls);
- hollow-sounding or loose tiles;
- grout that stays dark or crumbles;
- water that lingers on the floor after use.
Any one of these is a reason to investigate. They do not prove failed waterproofing on their own, and the cause may be elsewhere. If the flat below has damp, document it as described in seepage from the flat above: what to document before anyone assigns blame.
Why are grout and new tiles not waterproofing?
Grout is porous to some degree and tile joints can crack, so water can reach what is underneath. Sika's guidance on tile waterproofing notes that even sealed grout can allow water through at tile interfaces, which is why a separate waterproofing layer sits below the tile. A clean, new-looking floor tells you about the finish, not about the layer under it.
Putting new tiles over a leaking surface does not stop the leak. It hides the evidence, and the water continues to travel through the slab or walls until it shows up elsewhere, often as damp on a neighbouring wall or the ceiling below. That is the whole reason for waterproofing before tiling.
How is a bathroom waterproofed, step by step?
Systems differ by product, and the manufacturer's datasheet is the authority for any one of them. The sequence below is the general order of work, with the checks that matter at each step.
| Step | What is done | What to check or photograph |
|---|---|---|
| 1. Strip and assess | Old tiles and floor bed removed; slab and walls inspected for cracks and damp | Condition of the slab; any cracks repaired before coating |
| 2. Plumbing first | Supply and drain lines installed or tested; pipe openings sleeved | Pressure test result recorded before the chases are closed |
| 3. Level and slope | Screed laid to fall towards the drain; floor trap set at the right level | Water runs to the drain; no hollows |
| 4. Clean the surface | Dust, oil and loose material removed; surface dampened or primed if the datasheet says so | A clean, sound base |
| 5. Treat junctions | A fillet or cove at the wall-floor joint; reinforcement at corners, cracks and pipe collars | Corners and penetrations covered, not skipped |
| 6. Apply the membrane | Coats applied in the number and direction the datasheet specifies; extended up the walls | Product name on the container, number of coats, wall height |
| 7. Cure | Each coat dries or cures for the time the datasheet states | Dates and times noted |
| 8. Test | The floor is flooded to a set depth and watched (ponding test) | Water level marked and photographed; the ceiling below checked |
| 9. Protect | A protective screed or layer placed over the membrane where the system calls for it | Membrane not damaged by the next trades |
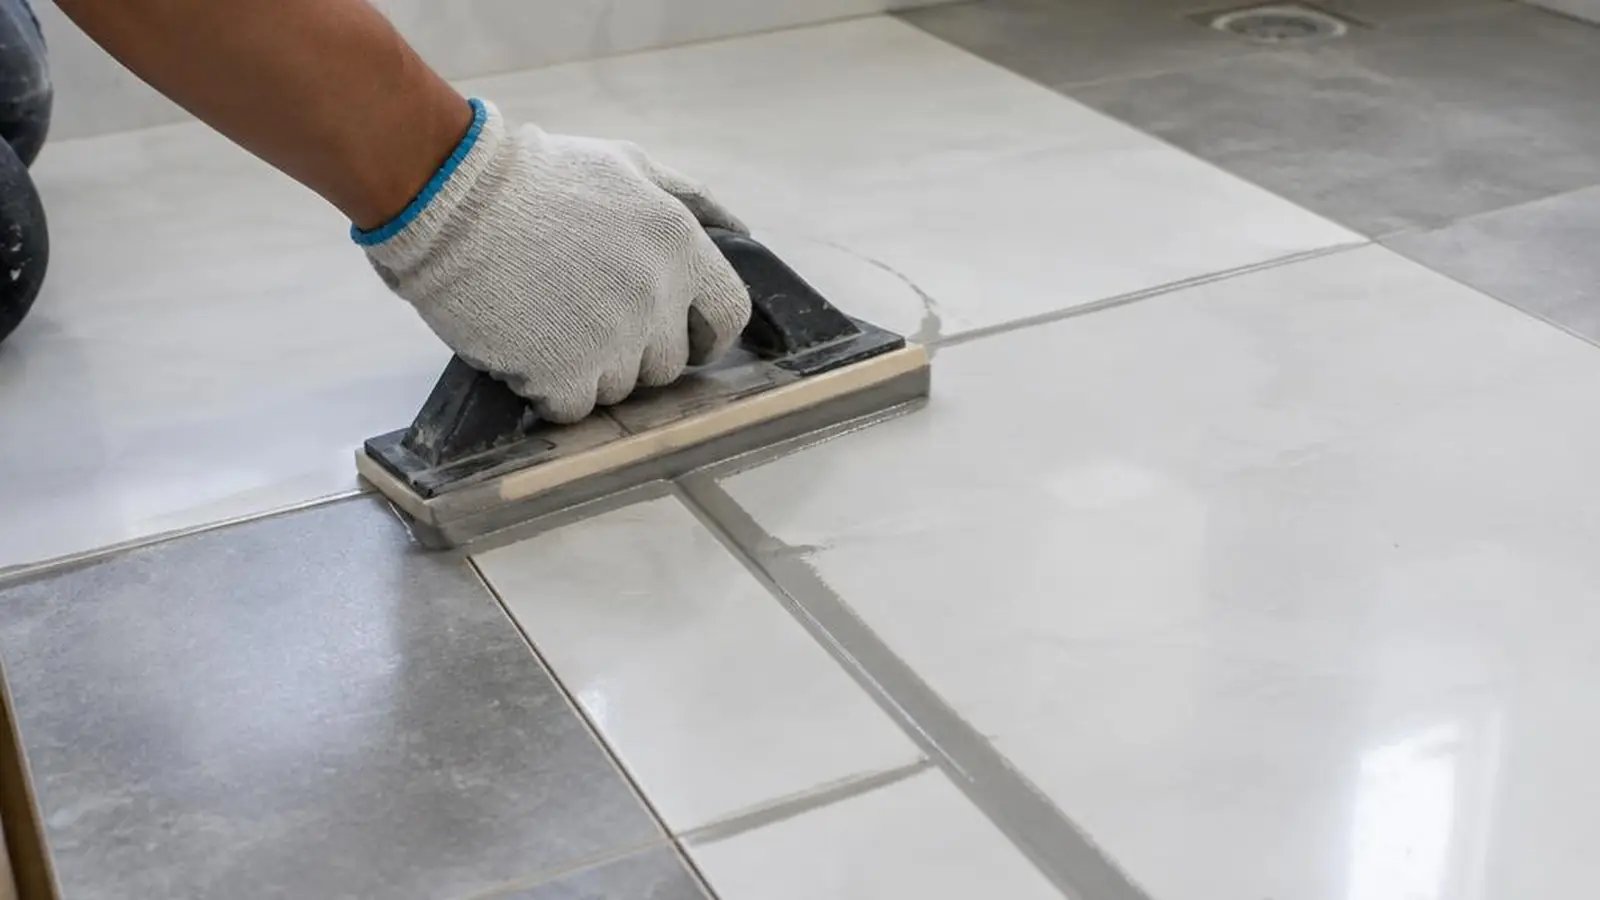
| 10. Tile and grout | Suitable adhesive and grout, with flexible sealant at movement joints | Full adhesive coverage; sealant at corners |
Three of these steps deserve more detail.
Junctions and openings. Leaks seldom start in the middle of a flat floor. They start at corners, around the drain and where pipes pass through. A product data sheet such as Sika India's SikaCeram Sealing Membrane W describes sealing corners, drains, pipe penetrations and joints between parts, which is a good picture of where the work is concentrated.
How high the waterproofing goes. Specifications vary. The layer commonly runs some way up the walls around the floor, and higher, sometimes to full height, in the shower area. Do not assume; ask for the height in writing.
The ponding test. In a ponding test, the drain is plugged and the doorway is dammed, the floor is filled with water to a set depth and left for a set time, and then the water level is checked for any drop, along with the ceiling below for damp. Advice on how long to leave it varies from about 24 to 72 hours depending on the source and the product, so follow the product datasheet and your contractor's written method, not a number from a video. A small drop in level can be evaporation, but a stain or damp patch below is a reason to stop and investigate. If the test fails, find and fix the cause, then test again.
If you are in an apartment, tell the neighbour below before testing, and agree who will check their ceiling. Do not run an improvised flood test in an occupied building without that agreement.
How should the floor slope to the drain?
A bathroom floor should fall gently towards the drain so that water leaves instead of resting. Many specifications use a fall of about 1 to 2 per cent, which is roughly 10 to 20 mm over a metre, but the right figure depends on the tile size, the drain position and the design. Follow your drawing.
Check the slope before waterproofing, since the screed is laid first, and again before tiling, with a bucket of water. Water should run to the drain without pooling in corners. A floor that slopes towards the door will push water into the next room, and a very flat floor leaves puddles that wet the grout all day. Slope is one of EzeeTask's stage checks, along with plumbing before concealment, waterproofing before tiling, tile and grout, fixtures and a final snag list.
Can you renovate a bathroom without breaking the old tiles?
Sometimes, but it is a decision, not a shortcut. It can be reasonable when:
- there is no leak, damp or old plumbing problem;
- the existing tiles are well bonded, with no hollow sounds;
- the change is mainly cosmetic;
- the extra thickness of new tile will not cause problems at the door, the drain or the fittings.
It is not reasonable when:
- there is a leak, damp or a stain in the flat below;
- tiles sound hollow or are cracked;
- the plumbing is old or is being moved;
- the floor slope is wrong.
Tiling over old tiles does not renew the waterproofing beneath them and can hide problems. On a bathroom renovation, EzeeTask's site assessment checks for hidden seepage first, and then advises whether the old surface can stay or must be removed. The recommendation is written into the proposal. For leaks in specific places, some specialist repairs can be done from the surface; our guide on fixing wall seepage without breaking the wall explains when that is and is not realistic.
Bathroom me leakage kaise hataye?
Pehle yeh pata karein ki paani aa kahan se raha hai. Kabhi leakage pipe se hoti hai, kabhi floor ki waterproofing se, kabhi nali ya joint se. Bina source dhundhe naye tiles lagane se leakage chhupti hai, khatam nahi hoti. Agar bathroom purana hai aur neeche wale flat mein seelan hai, to pehle inspection karwayein. Renovation mein sahi tareeka yeh hai: purane tiles hatana, plumbing test karna, waterproofing lagana, use sukhna dena, ponding test karna, aur uske baad hi tiling karna.
What should you ask your contractor, and what should you get in writing?
Put these in the quotation or proposal before work begins:
- Product and brand. The name of the waterproofing product. EzeeTask uses Dr. Fixit or Sika for waterproofing, with MYK LATICRETE or Roff for tile adhesive and grout.
- Coats and coverage. How many coats, over which areas, and how high up the walls.
- Curing and test. The curing time before testing, the test method, its duration and who will record it.
- Photographs. Dated photos of the bathroom after the membrane is applied and during the test, before tiling.
- Responsibility. Who deals with any damage to the flat below, and how a failed test is handled.
- Warranty. What is covered, for how long, and where it is written. EzeeTask's 5-year seepage warranty is stated in the approved proposal.
A "waterproofing certificate" is only as meaningful as what it states. A line that says "waterproofing done" with no product, area, method or test record tells you little. Records and a written warranty matter more than a certificate on its own. For what to ask about guarantees, read seepage warranties: questions to ask before repair.
EzeeTask's bathroom renovation service includes these stage checks: plumbing before concealment, waterproofing before tiling, floor slope to the drain, tile and grout, fixtures, and a final snag list. If you suspect an existing leak, the leakage and seepage inspection service is the place to start, and bathroom leakage describes the usual causes.
Questions about bathroom waterproofing
How long should waterproofing cure before tiling?
It depends on the product, the number of coats, temperature and humidity. Follow the manufacturer's datasheet and the written method in your proposal. Do not accept a single number from a verbal assurance.
Can I tile over old tiles?
Only when there is no leak, damp or plumbing problem, the old tiles are firmly bonded and the added thickness works at the door and fittings. Tiling over old tiles does not renew the waterproofing underneath, so check for hidden seepage first.
Is a waterproofing certificate meaningful?
Only if it names the product, the area covered, the method and the test, and the contractor stands behind it in a written warranty. A certificate with no records behind it is weak evidence.
What if the flat below has damp?
Do not assume your bathroom is the cause, and do not assume it is not. Pipes, drains, the membrane and other sources can all be responsible. Document the damp, get the source investigated, and agree any test with the neighbour before you start.
Related reading
- Bathroom PDI: drainage and waterproofing checks
- How to check whether a seepage repair worked
- Small bathroom design ideas for Indian homes + cost
Sources and further reading
- Sika US: tile and stone waterproofing: why grout and tile are not the whole waterproofing assembly.
- Sika India: SikaCeram Sealing Membrane W data sheet: one under-tile system and its junction details; other products differ, so read the datasheet of the product used.
- Schluter: The Practical Guide to Wetroom Specification: finish versus waterproofing layer; UK product guidance, not Indian regulation.
Last reviewed: 21 November 2026.